Installation
Follow these steps to install Disco ICT on a Windows Server and connect it to SQL Server. The screenshots contain example organisation, server and account details; use the values for your own environment instead.
1. Prepare the server
Before you begin, make sure you have:
-
A Windows Server joined to your Active Directory domain.
-
Internet Information Services (IIS), with ASP.NET 4.8 and WebSocket Protocol enabled. If these features are not installed, open PowerShell as an administrator on the server and run:
Install-WindowsFeature Web-Asp-Net45, Web-Windows-Auth, Web-Static-Content, Web-Stat-Compression, Web-WebSockets, Web-Scripting-Tools -IncludeManagementTools -
A SQL Server that the Windows Server can reach. SQL Server Standard Edition or above is recommended, but is not required.
-
A SQL Server account with permission to create the Disco ICT database, or ownership of the database if it already exists. The exact role depends on your database choice and is described in step 3.
The installer creates a domain service account named DiscoService and gives it a strong, randomly generated password. The IIS application pool runs as this account. If an account with this name already exists, the installer reuses it and resets its password to a new random value. Check with your domain administrator before installing if the account already exists.
2. Run the installer
- Download the installer from the download page and run it on the server.
- Approve any Windows security or User Account Control (UAC) prompts.
- Accept the licence agreement and select Install.
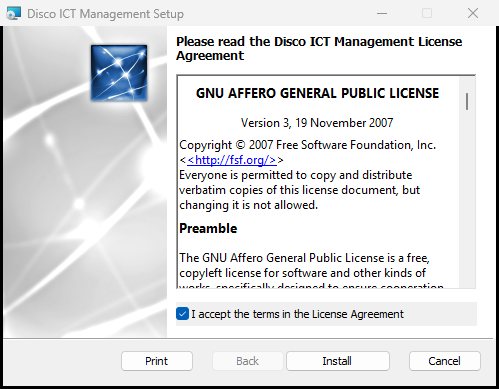
The installer copies Disco ICT to C:\Program Files\Disco and creates an IIS website named Disco that listens on port 9292.
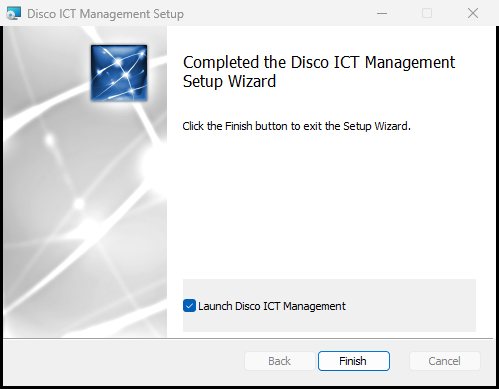
When installation completes, leave Launch Disco ICT Management selected and click Finish. Your browser opens the initial configuration page at http://localhost:9292/.
3. Complete the initial configuration
The initial configuration asks for the settings Disco ICT needs to start. Complete each page and select Continue to move to the next one. On the final page, select Start Disco ICT.
-
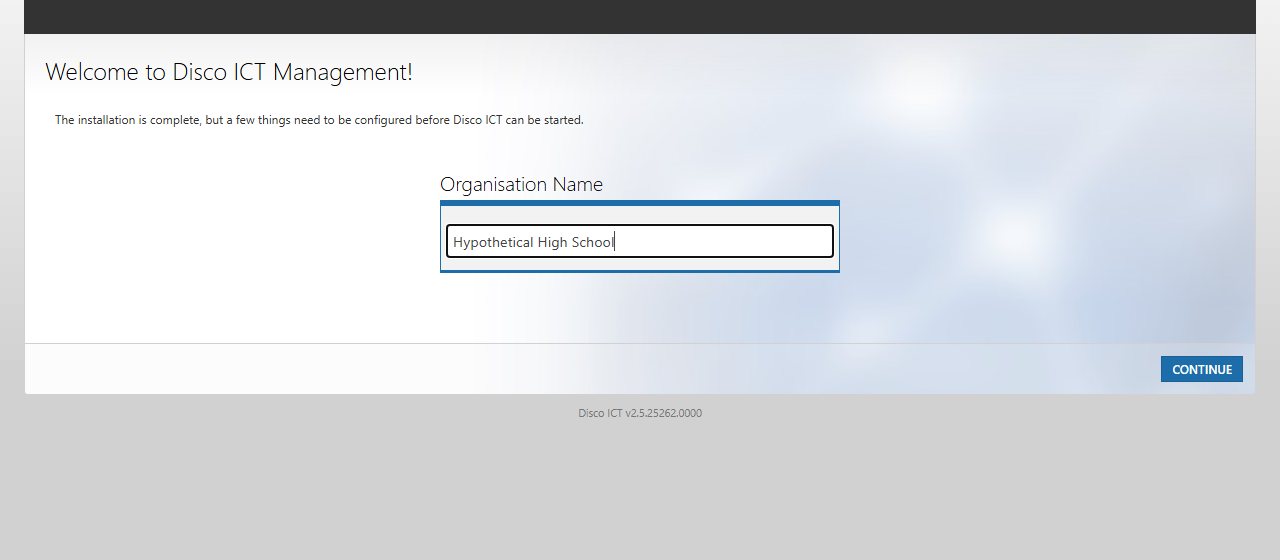
Organisation name: Enter your organisation’s name. It appears in the footer of Disco ICT pages. Select Continue.
-
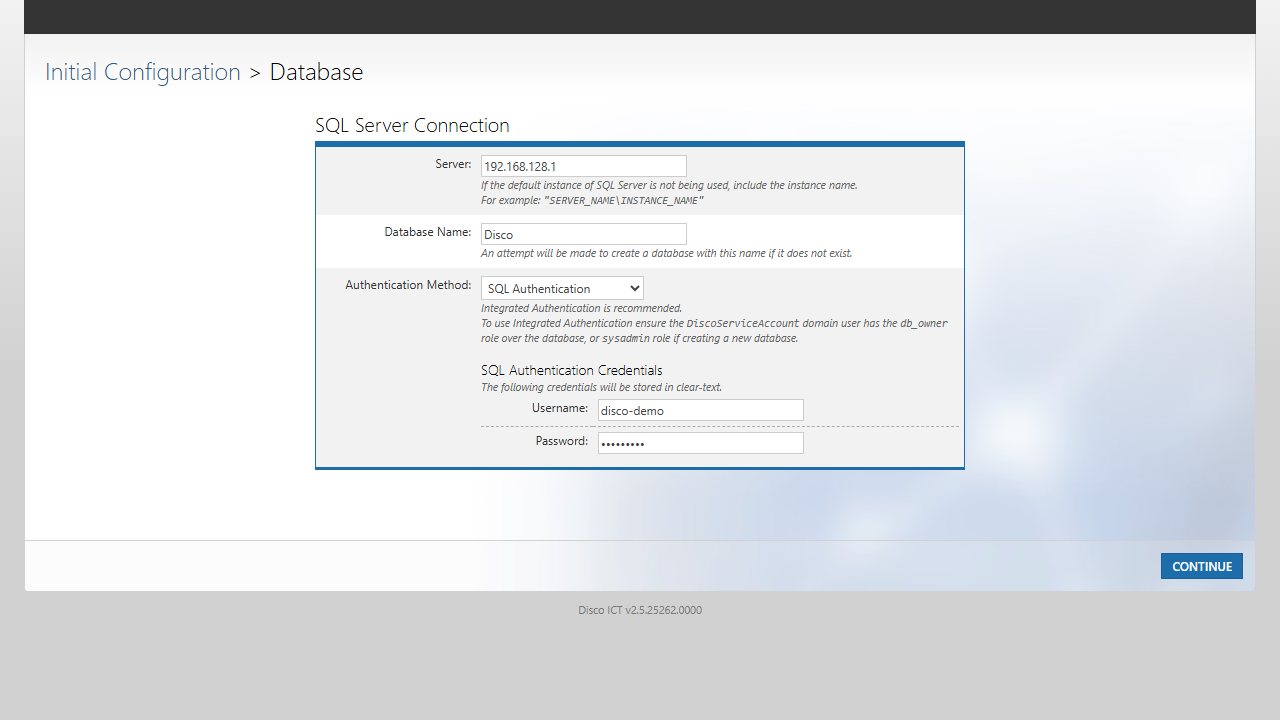
Database: Enter the SQL Server connection details:
- Server: Enter the SQL Server name. If you use a named instance, include it, for example
SERVER_NAME\INSTANCE_NAME. - Database name: Enter the database name. Disco ICT creates the database if it does not exist. For a new database, the account used to connect needs the
sysadminrole. For an existing database, it needs thedb_ownerrole. - Authentication method: Integrated Authentication is recommended and uses the
DiscoServiceaccount. Make sure that account has the required database role. If you choose SQL Authentication, enter the SQL username and password; these credentials are stored in clear text in the configuration.
Select Continue.
- Server: Enter the SQL Server name. If you use a named instance, include it, for example
-
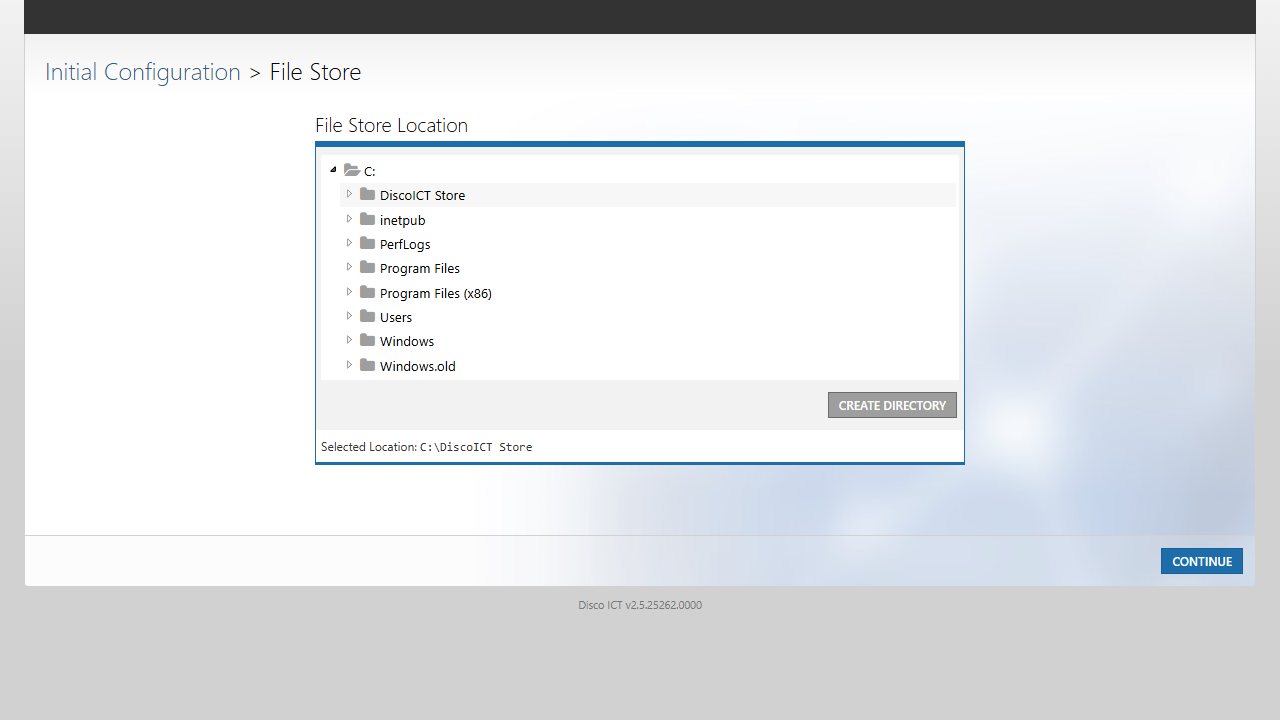
File store: Choose the folder where Disco ICT will keep attachments, images, templates and other files. Select a location, then select Create Directory if you need to make a new folder. Choose a location with enough space and include it in your regular backups. Select Continue.
-
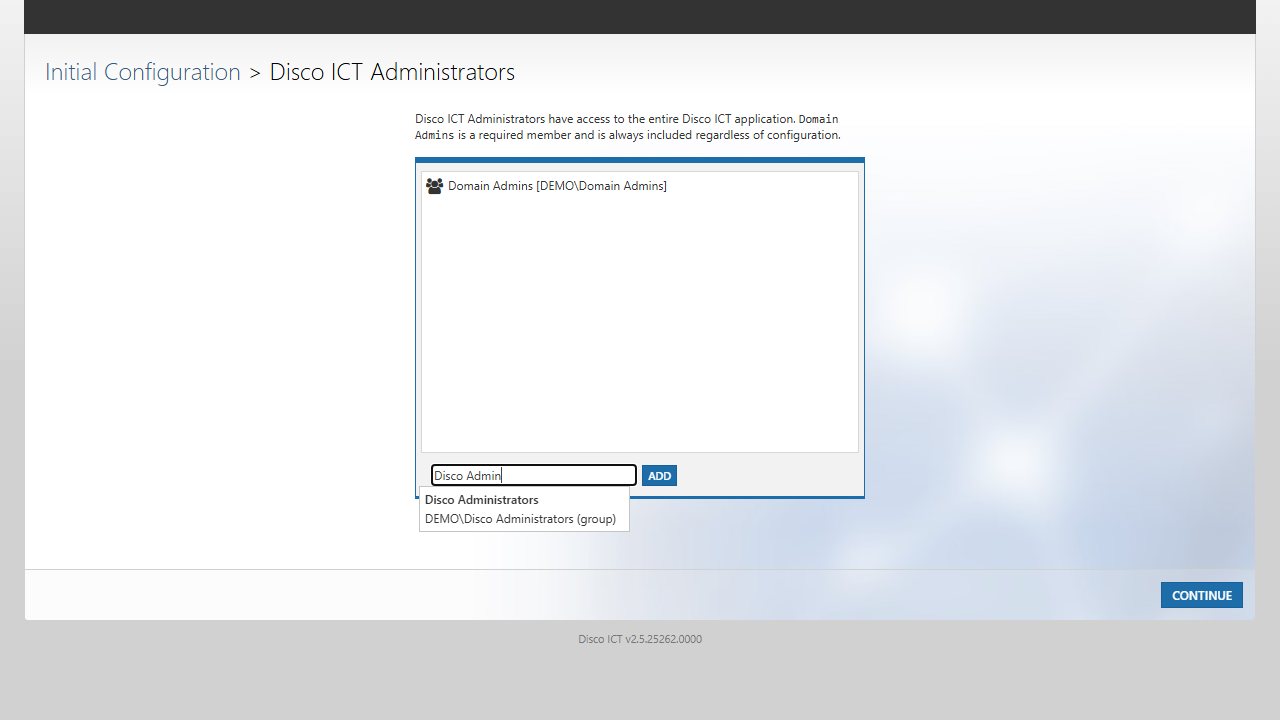
Administrators: Choose who will have full access to Disco ICT. Domain Admins is always included. Type a user or group name to search Active Directory, select the matching result and select Add. Adding a group makes it easier to grant or remove access later. Select Continue.
-
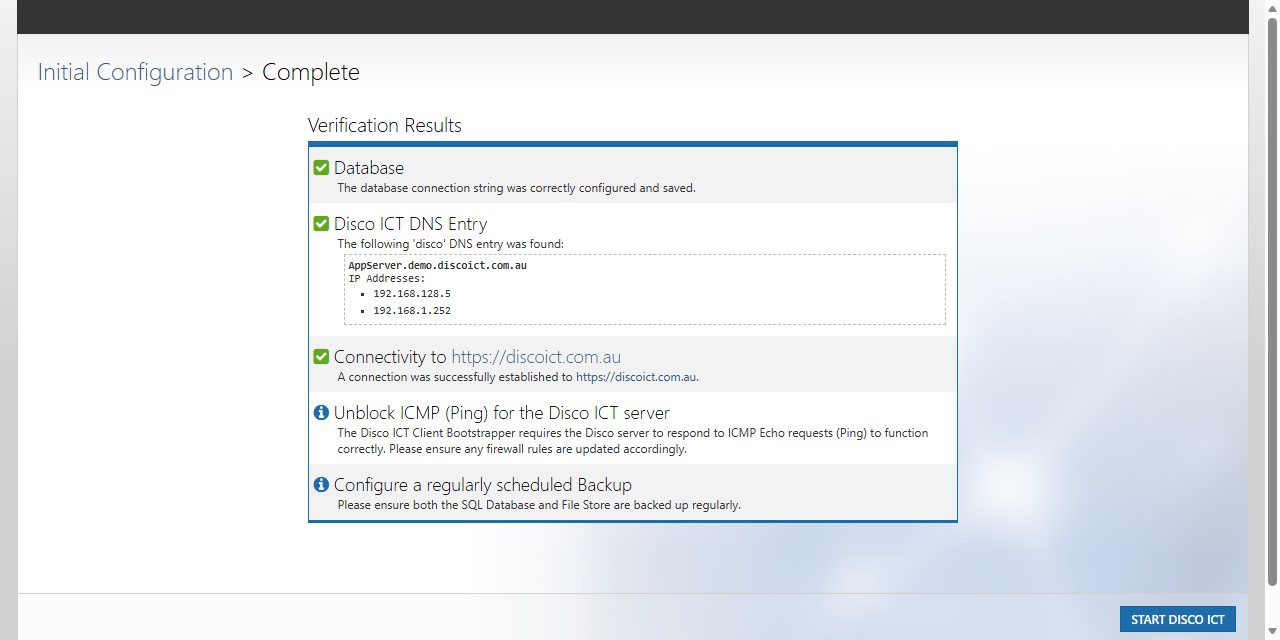
Verification: Review the results. Disco ICT checks the database connection, whether the
discoDNS entry resolves, and whether the server can reachhttps://discoict.com.au. The page also reminds you to:- Allow ICMP Echo (ping) through the server’s firewall. The Disco ICT Client Bootstrapper needs the server to respond to ping requests.
- Schedule regular backups of both the SQL database and the file store.
4. Confirm that installation succeeded
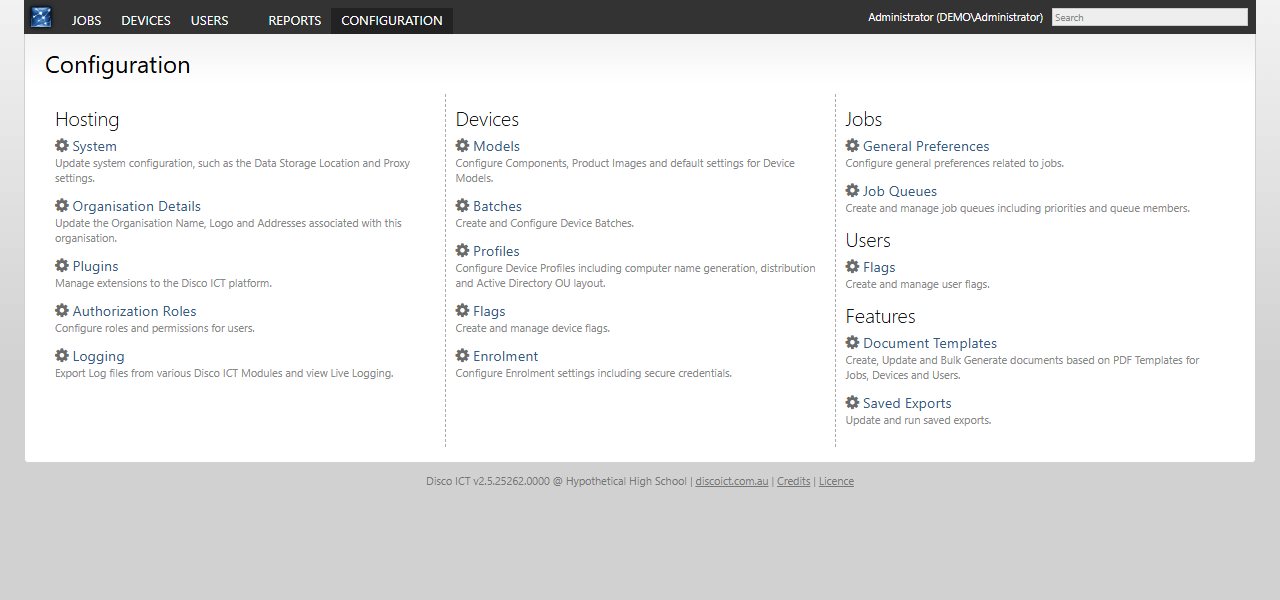
Disco ICT opens to the Configuration page. To check the saved setup, open System under Configuration. This page shows the installed version, database connection and file store location.
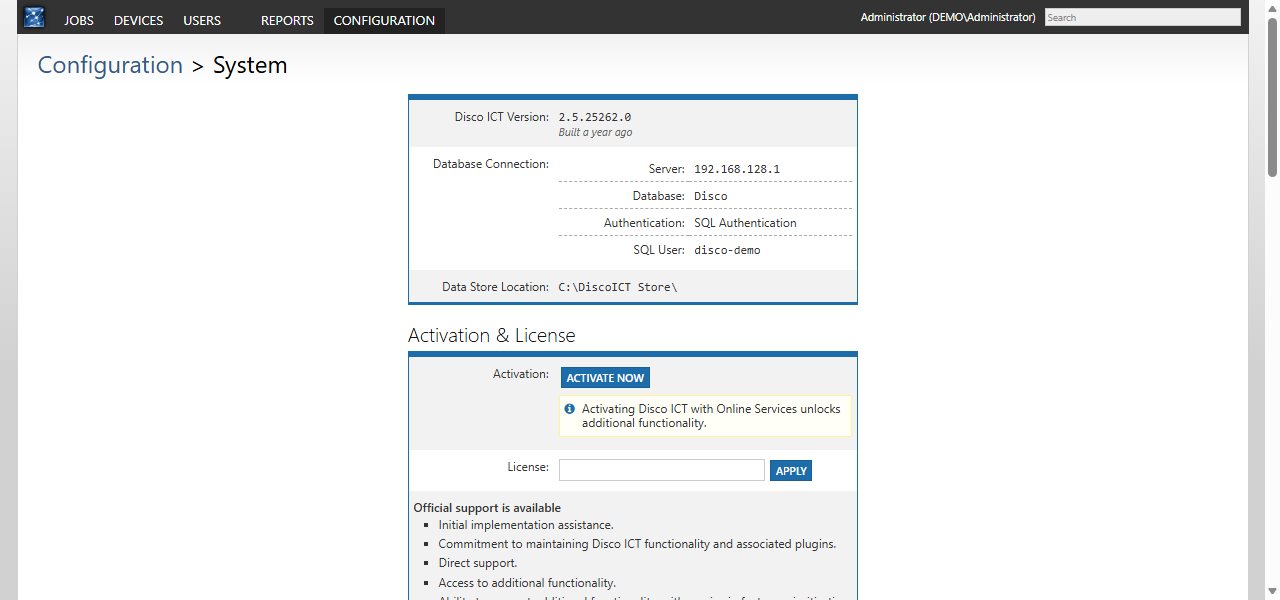
The System page is also where you can activate Disco ICT with Online Services or apply a licence. Activation unlocks additional functionality. Allow TCP port 9292 through the relevant firewalls so users can reach the website.
Next: Getting Started with Disco.