
Jobs - Hardware - Warranty
This page contains screenshots from Disco ICT v1 and will be updated shortly.
| 1: |
Both the device and it's currently assigned user are attached to the Job. |
| 2: |  Click Create Job. Click Create Job. |
| 3: |
Select the Job Sub-Types. Multiple Job Sub-Types can be selected if required. |
| 4: |
Fill out additional job settings in accordance with your organisations procedures:
|
| 5: |
The Warranty Provider can be selected by default if a 'Default Warranty Provider' is set for the Device Model. Adding Warranty Providers to Disco is accomplished with a plugin for which the interfaces and samples are freely available. |
| 6: |
The information will be passed to the Warranty
Provider plugin to submit and return a reference number which is
stored in the job: |
| 7: |
The warranty technician may be given access to perform this task and review or add job comments or attachments. |
| 8: |
Complete any other tasks required (such as reimaging, etc) |
| 9: |
Mark the job as: Device Ready for Return. When the user collects the device the job can be closed. |
 Locate either the Device or
Device's Assigned User.
Locate either the Device or
Device's Assigned User.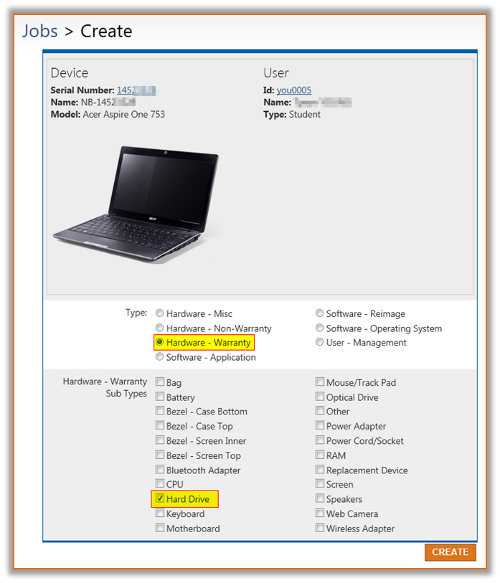 Select the Job Type:
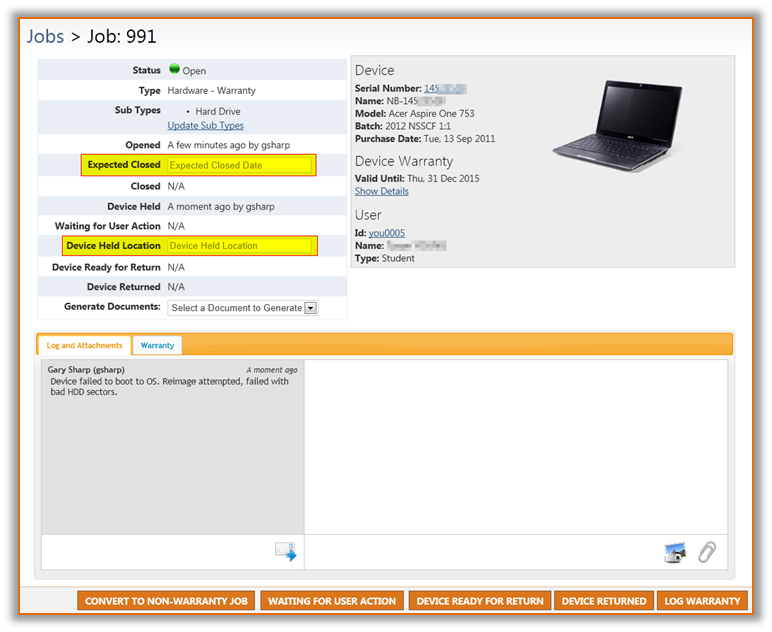
 Click Log Warranty.
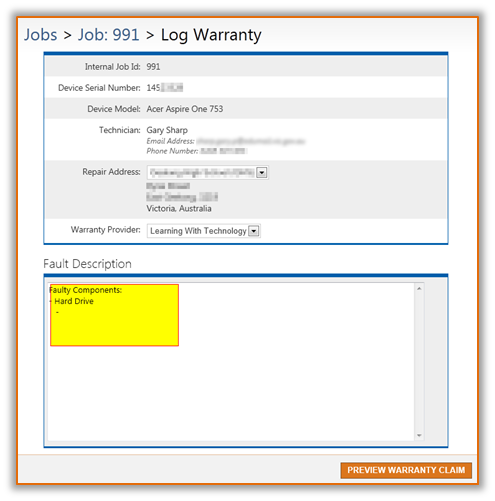 Complete the Fault Description.
 Review the Warranty Claim before clicking Submit
Warranty Claim.
Review the Warranty Claim before clicking Submit
Warranty Claim.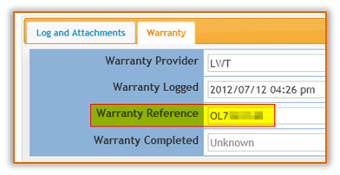
 After the Warranty Provider's technician has
completed the job, mark the Warranty Complete.
After the Warranty Provider's technician has
completed the job, mark the Warranty Complete.